


In R12.1.3, Custom OAF Module and OAF Customization deployment is pretty simple. Having created the directory structure under $JAVA_TOP/<custom_folder> as recommended by Oracle, the .class and .xml files are moved to the corresponding folders and having imported the Pages and bounced OACore OC4J deployment can be done. Moreover the files need to be deployed in single file system as there is single file system present in the instance.
Unlike R12.1.3 there is a change in Custom OAF Module and OAF Customization deployment methodology in R12.2.3 as there is change in backend server viz. instead of OACore OC4J in R12.1.3 it is OACore WLS (Weblogic Server) in R12.2.3. Furthermore, as there are two file system present in the instance, files need to be deployed on either both the file systems or one file system followed by including an synchronization statement in adop utility.
Deployment Steps
Deployment steps are as follows:
- Having developed, the customizations need to be deployed under $JAVA_TOP/ <custom_folder> [Lets say custom folder name is xxsfl]
- Zip the entire custom_folder.
Command: zip a��r xxsfl.zip xxsfl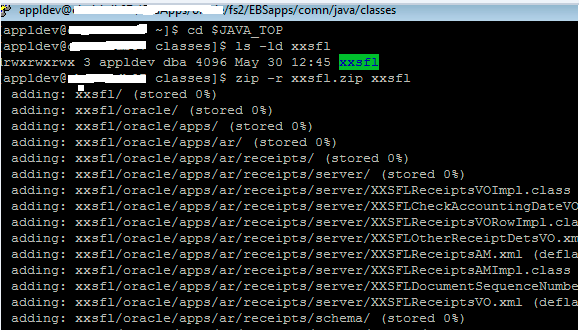
- Give full permission to the zip being generated.
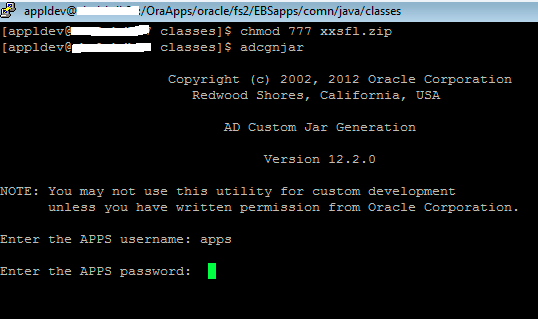
Command: chmod 777 xxsfl.zip - Execute command adcgnjar utility under $JAVA_TOP to generate customall.jar inside the same directory
- adcgnjar( Press Enter)
- Enter APPS username : <apps>
- Enter APPS password: <password>
 After successful execution, customall.jar will be generated and will be available underA�$JAVA_TOP
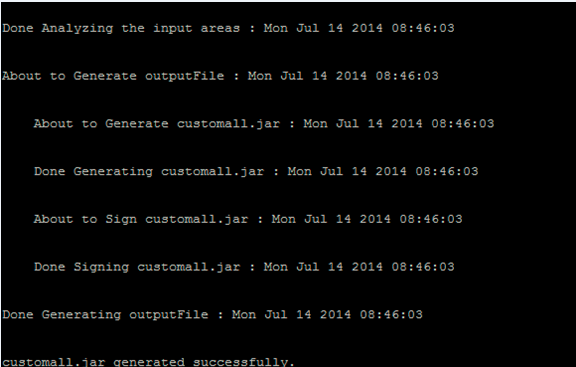
- Give full permission to the zip being generated.
Command: chmod 777 customall.jar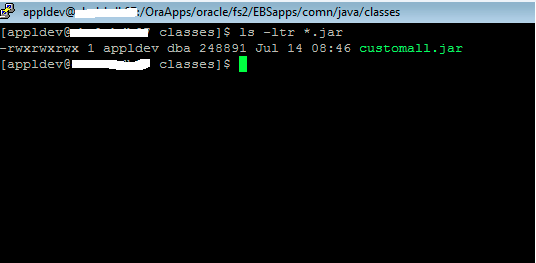
- Delete xxsfl.zip or Rename xxsfl.zip to xxsfl_<Timestamp>.zip
Command: rm xxsfl.zip
Command: mv xxsfl.zip xxsfl_d20140714_6:55PM.zip - Make an entry of jar in the file ebsProductManifest_xml.tmp available under the following path: $FND_TOP/admin/template/
Command: <library>customall.jar</library>
- Run Autoconfig.
- Bounce MiddleTier Services.
Points to note
- Check log after executing adcgnjar utility, as shown in the screenshot given above.
- Autoconfig needs to be run only after first time deployment.
- MiddleTier Services is required to be bounced to get the changes made to get reflected.
- As there are two file systems in R12.2.3 viz. a�?Runa�? and a�?Patcha�? file system, and the designation will switch back and forth between FS1 and FS2 for each patching cycle. So file systems are not synchronized. To synchronize the file systems , please make an entry for the custom files to the custom synchronization driver file to ensure that the adop utility synchronizes these files between the run file system and the patch file system the next time you run the prepare phase. This can be done by adding the below mentioned command in between ‘#Begin Customization’ and ‘#End Customization’ comments drv file available under the path $APPL_TOP_NE/ad/custom/
Command:A�rsync -zr %s_current_base%/EBSapps/comn/java/classes/<custom_top> %s_other_base%/EBSapps/comn/java/classes
Please remember, this is one time activity.
Reference Links
For further reference, please have a look into the Metalink Doc id: 1577661.1
 The Humanizer is a platform created by technology domain experts to inspire innovative, hence simple, thoughts for a better social living.


