


Here in this article, I will discuss how to create web service from java class. Here are the steps as mentioned below to create SOAP web service from java class.
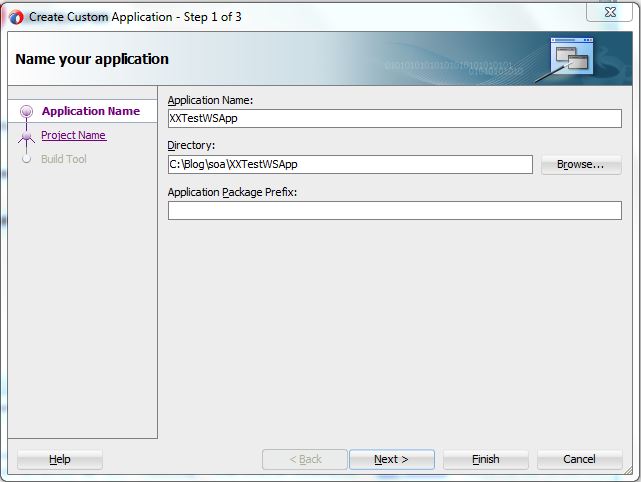
- Create a custom application and enter application name XXTestWSApp. Choose your own local directory to save the application.
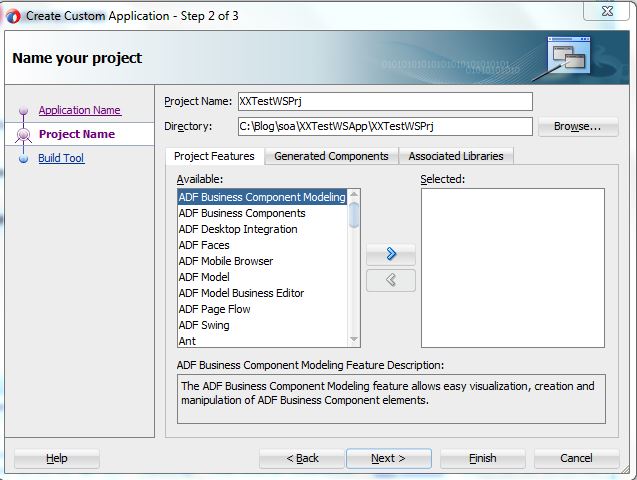
- Click on Next and enter project name XXTestWSPrj
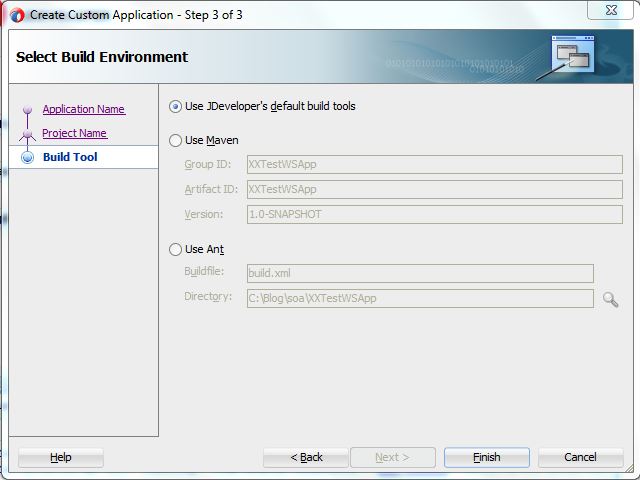
- Click on Next and select Use JDevelopera��s default build tools
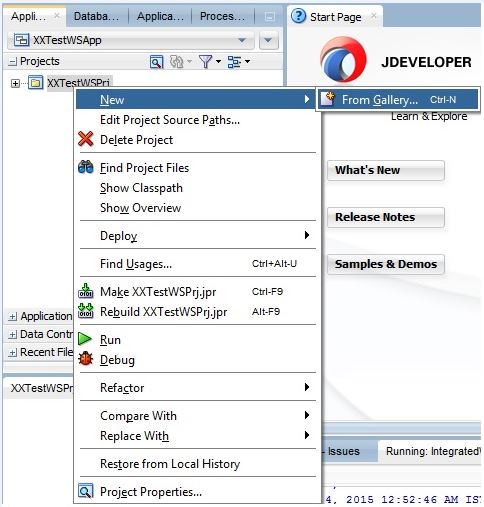
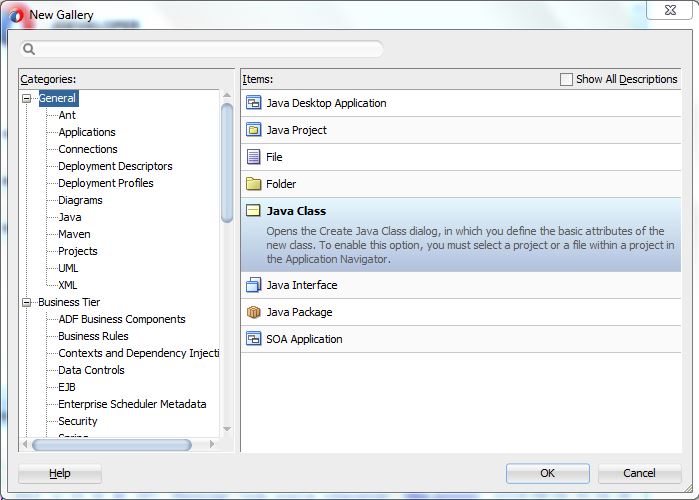
- Now create a java class within the project. Right click on project -> New -> From Gallery. Select Java Class under General categories.
- Create Java Class wizard will open. Enter class name, package name and select public as access modifiers. Check the below screenshot for other options.
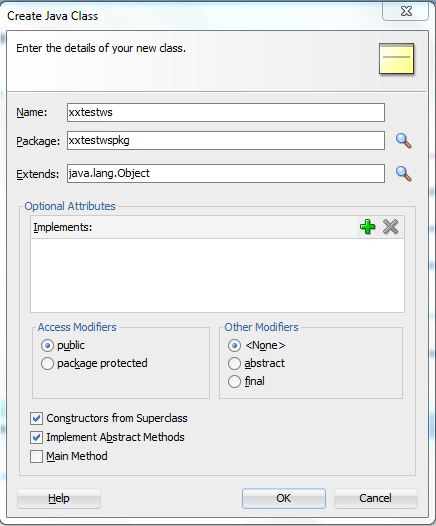
-
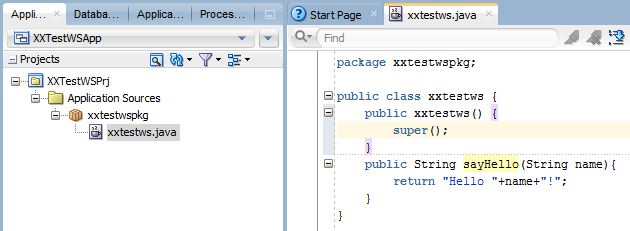
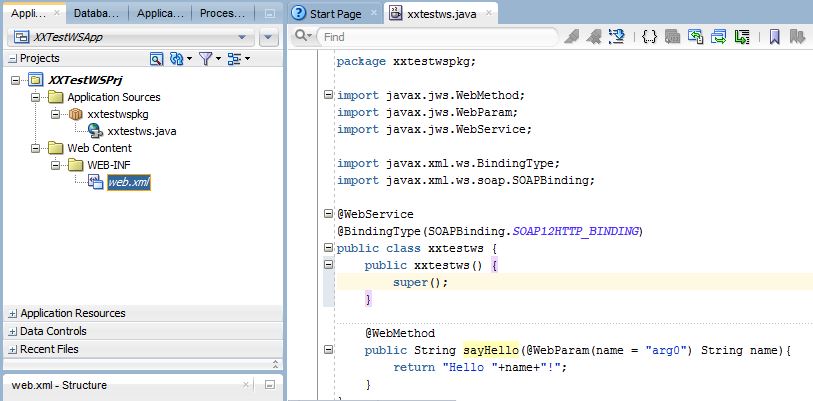
- Click on OK and enter the below methodA�in the java class
public String sayHello(String name){
return “Hello “+name+”!”;
}
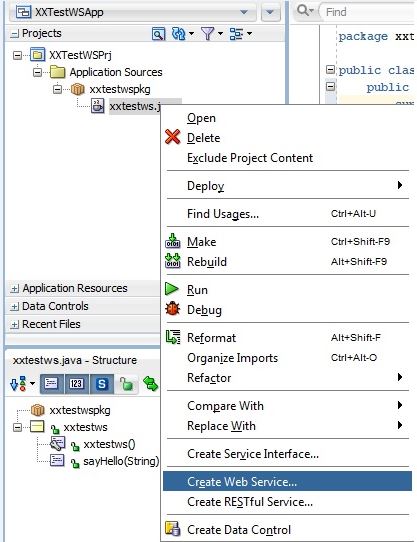
- Right click on java and select Create Web Service
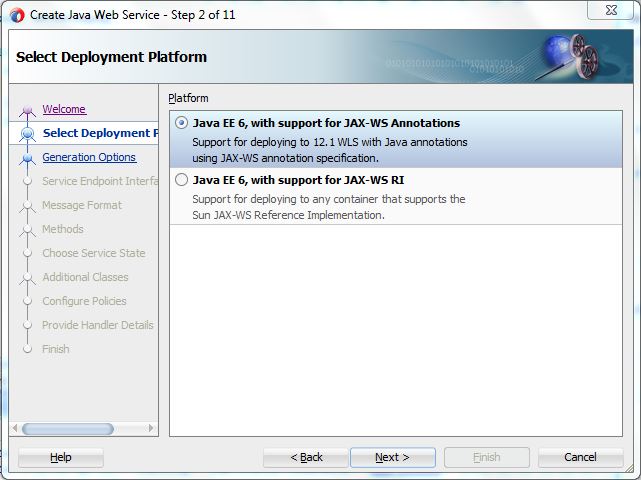
- Select Java EE 6, with support for JAX-WS Annotations as deployment platform
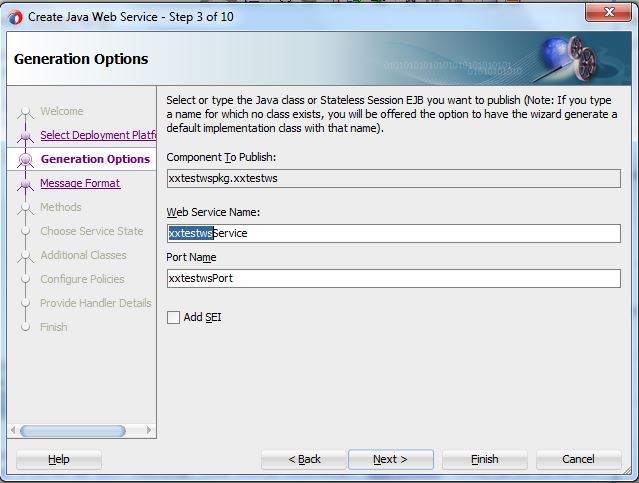
- Click on Next and enter web service name and port name.
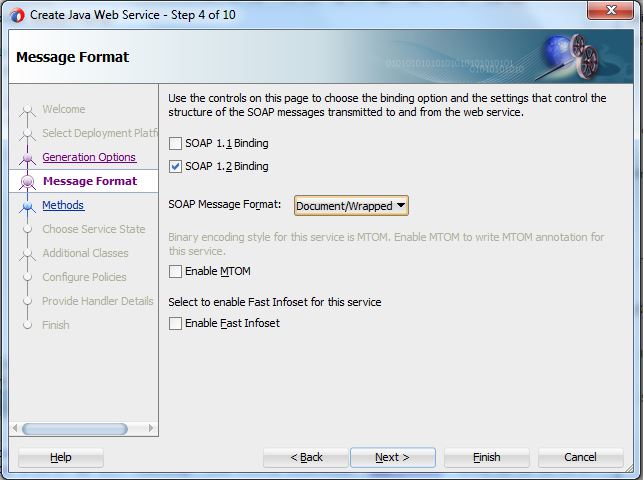
- Click on Next and select SOAP 1.2Bindiing as message format
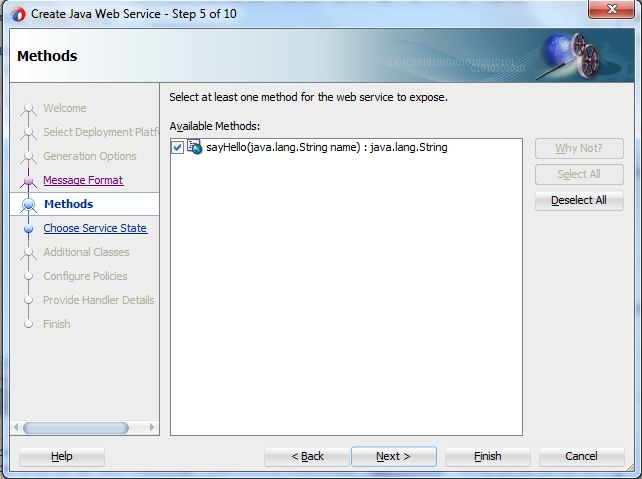
- Select method in the next wizard
- Click on Next
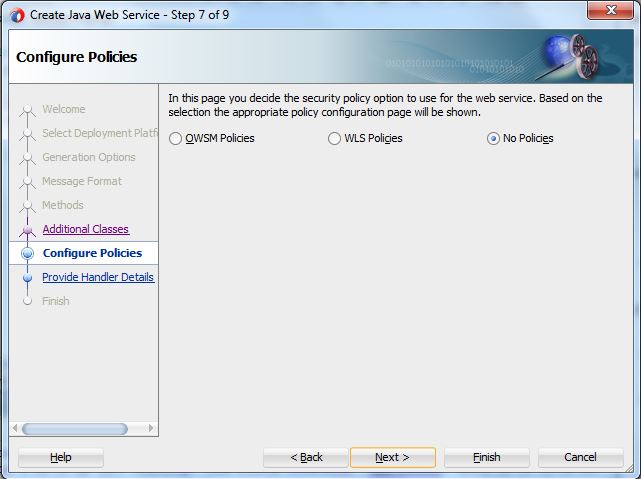
- Select No Policies optionA�in the Configure Policies wizard
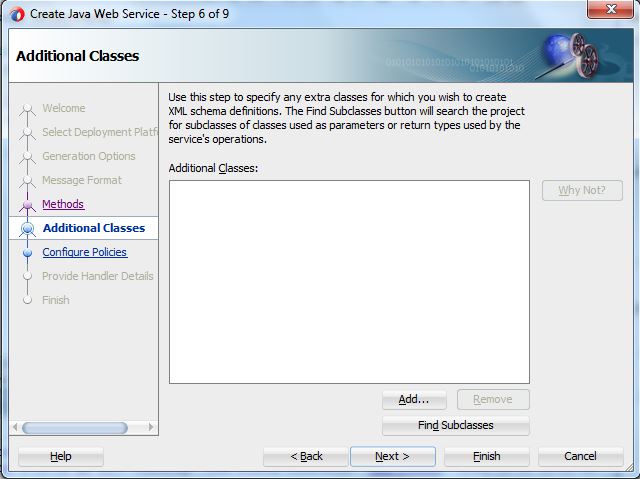
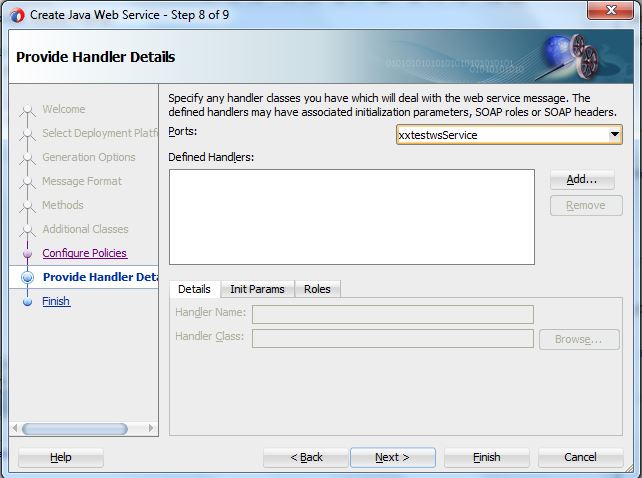
- Select the default options in the next wizard
- Click on Next and then Finish. Web service will be created

- xxtestws.java file will look like below screenshot
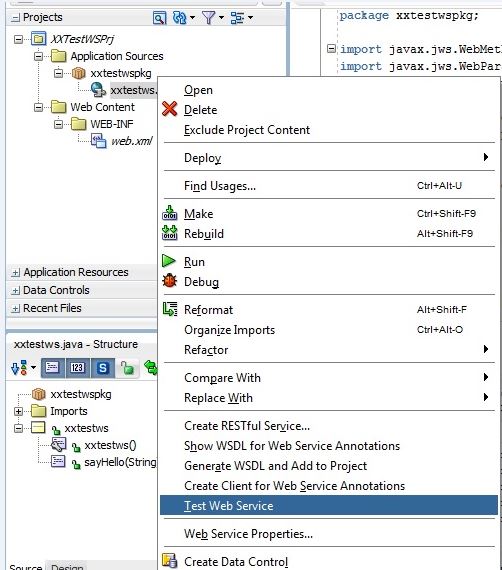
- Test the web service in JDeveloper itself. Right click on xxtestws.java and select Test Web Service
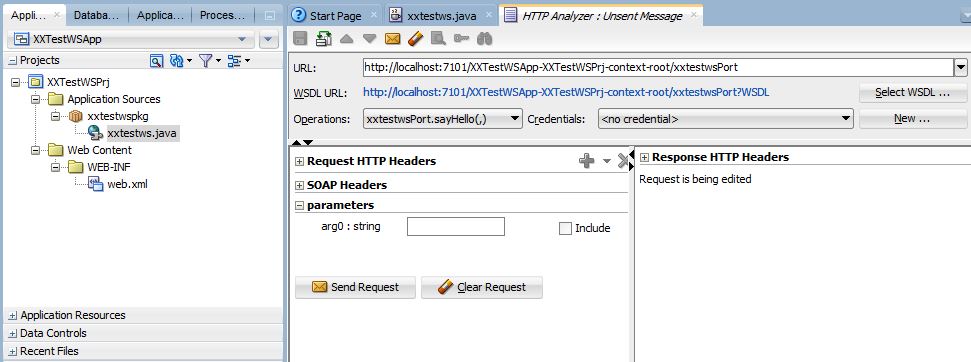
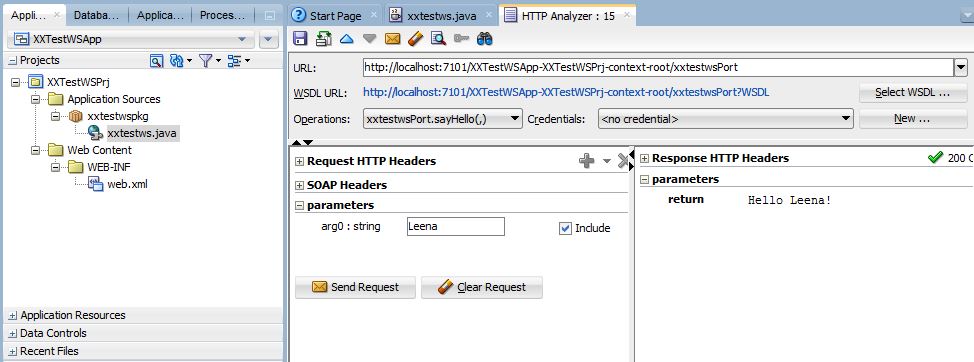
- Enter input string under Request HTTP Headers. Click on Send Request
- Response is as expected.
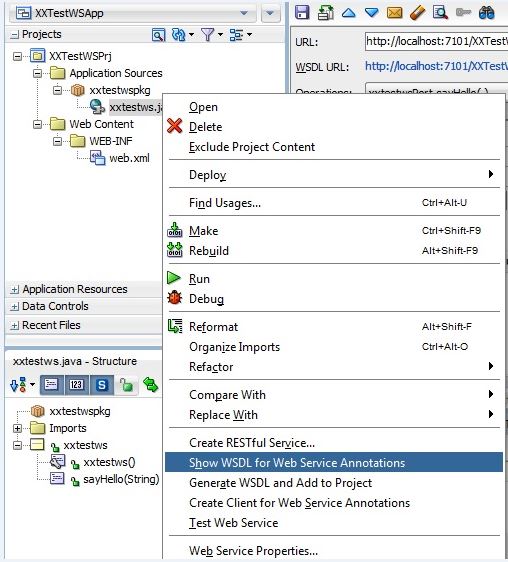
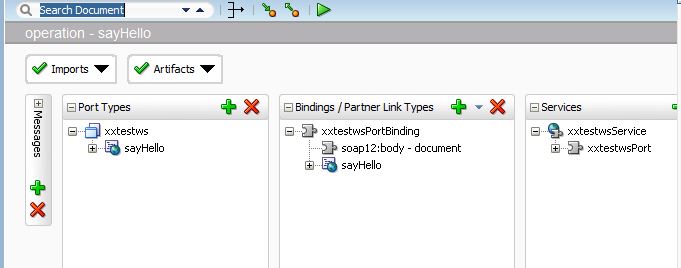
- Check the WSDL and XML schema. Right click on java class and select Show WSDL for Web Service Annotations
- Check the below screenshots
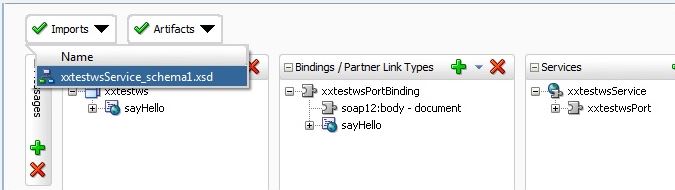
- Click on Imports and select schema file
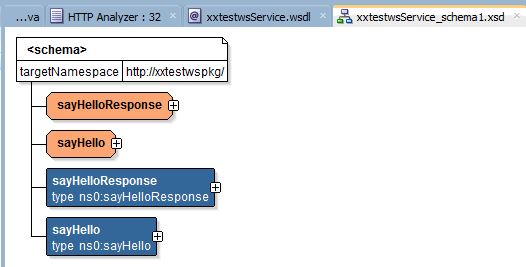
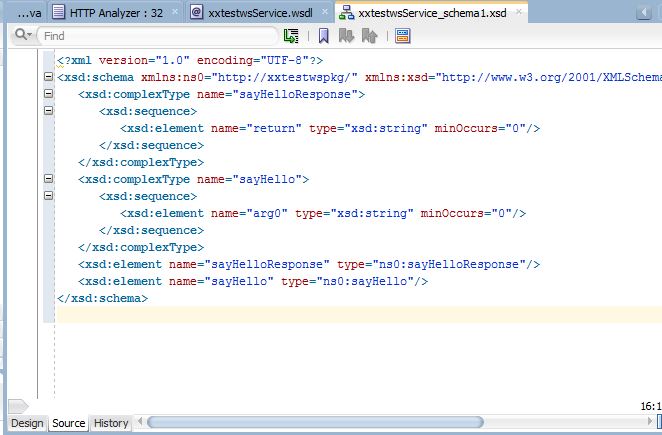
- Check both design and source of XML schema file
- Copy the URL of the web service and browse the URL in the web browser. You can test the web service in the browser also. Click on Test.


- Enter parameter arg0 as Leena

- Enter user name and password and click on Invoke
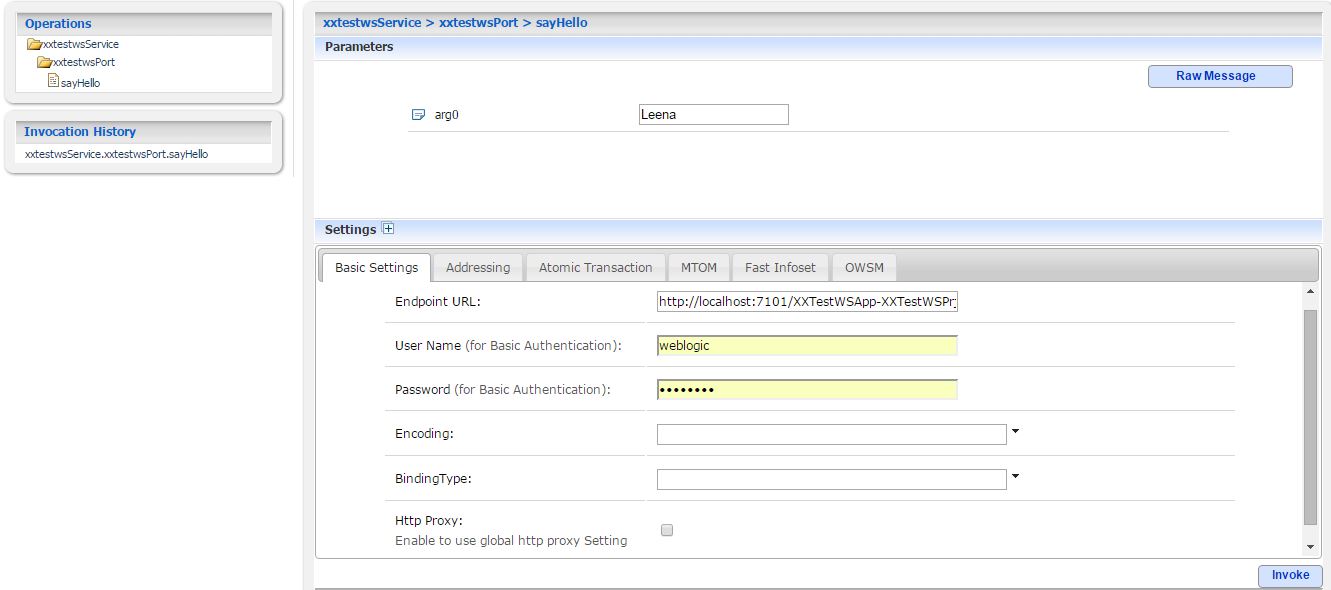
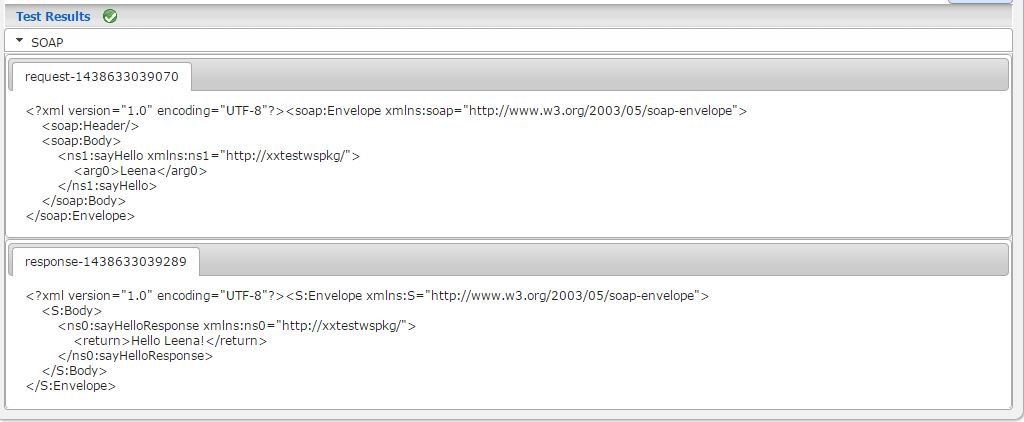
- Test Result will be like the below screenshot
 The Humanizer is a platform created by technology domain experts to inspire innovative, hence simple, thoughts for a better social living.


