


In this example, we will discuss about the consuming message from JMS queue. This project will consume message from queue and write the message in the file. Follow the below steps to implement this example.
- Create a SOA project under same application. Right click on the application -> New Gallery -> General -> Projects -> SOA Project. Enter project name and select Composite With BPEL Process in the next wizard
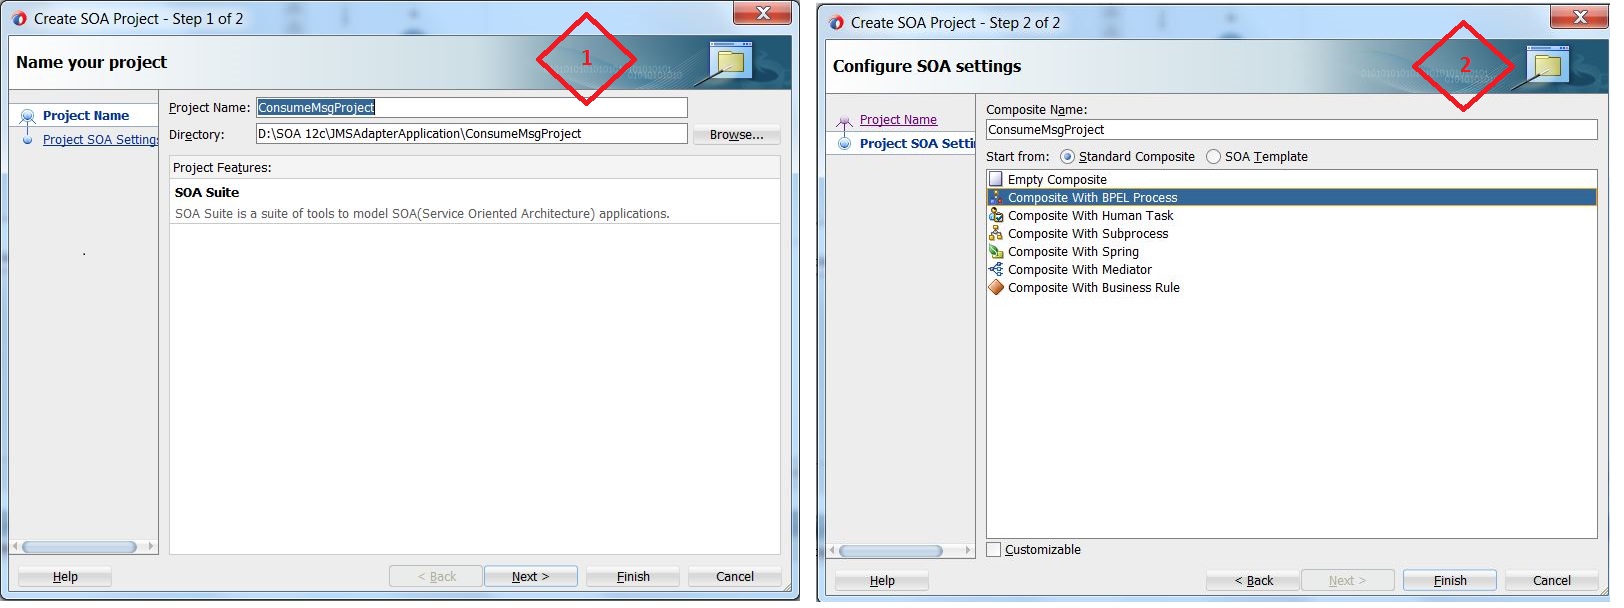
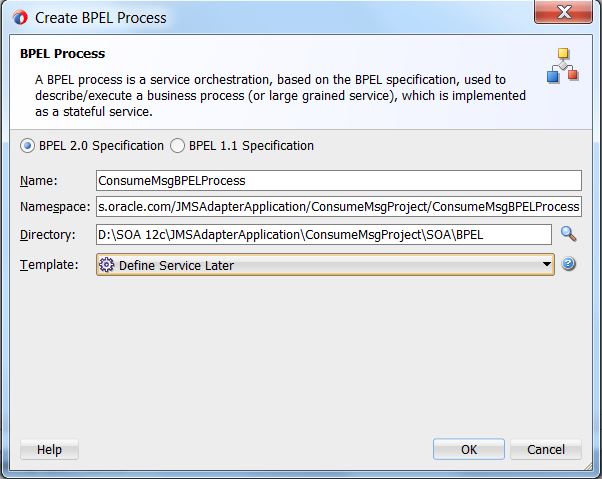
- Click on Finish button and BPEL process wizard will open. Enter BPEL process name as ConsumeMsgBPELProcess and Define Service Later as template type
- Select JMS Adapter from component palate and drag and drop it in the Exposed Services lane. JMS Adapter Configuration wizard will open. Enter service name as ConsumeMsg. Select Oracle Weblogic JMS as Oracle Enterprise Messaging Service and Integrated weblogic server as appserver connection in the next wizard.
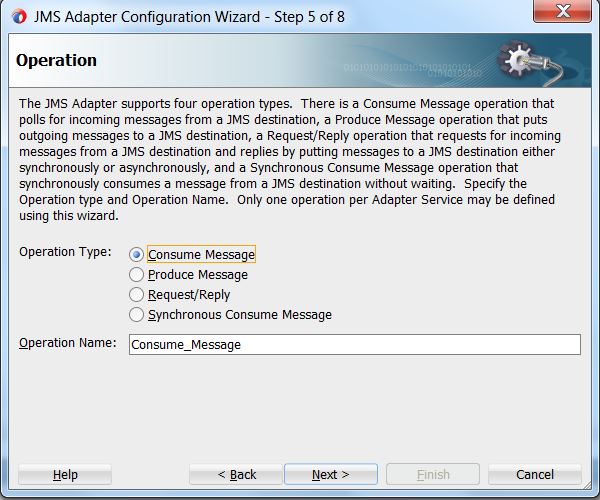
- Select Consume Message as operation type
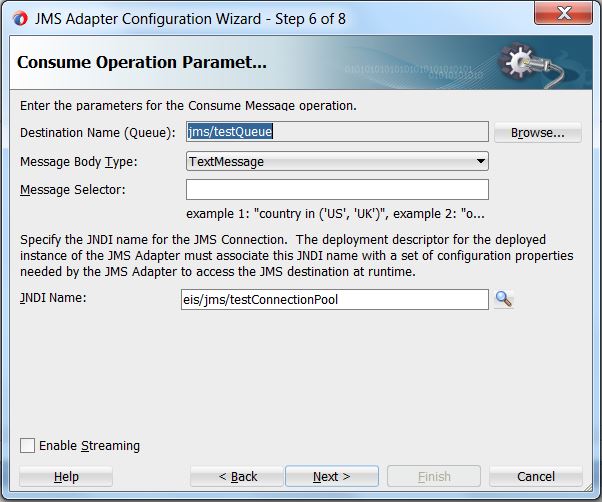
- Select operation parameters like destination name and JNDI name of JMS connection pool like below screenshot
- Select the Employee.xsd schema file which is present in the configure folder
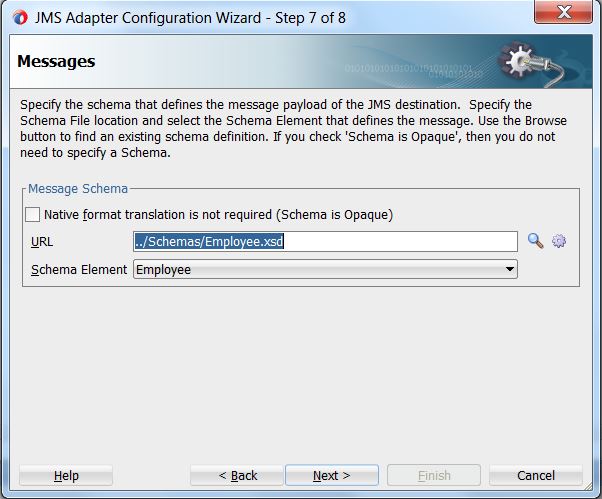
- Click on Next and then finish completing the JMD adapter configuration.
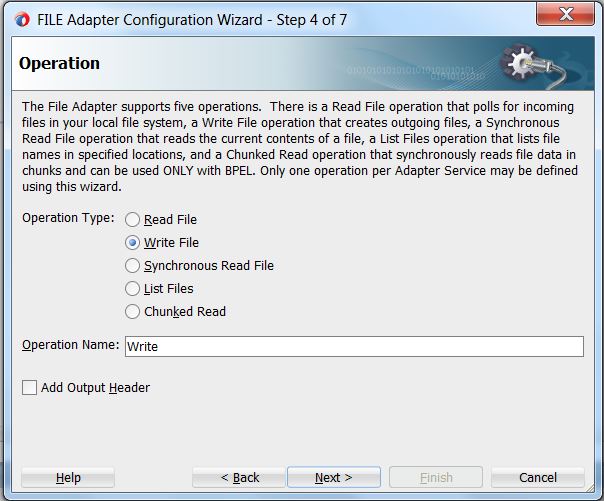
- Select File adapter from component palate and drag and drop it in the External References lane. File Adapter Configuration wizard will open. Enter reference name and select Write File as operation type
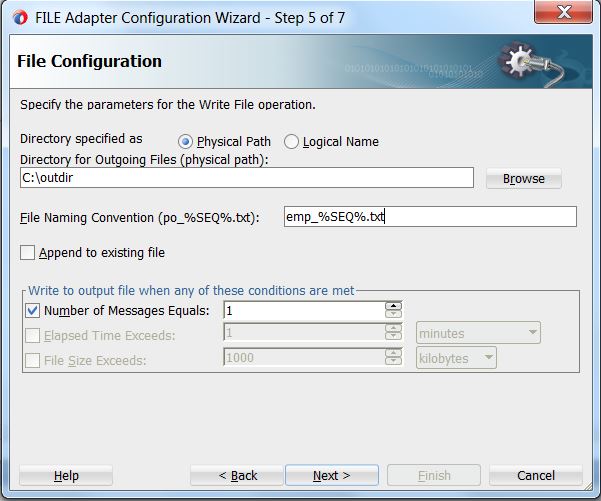
- Click on Next button and enter the parameters like physical path for outgoing files and file naming convention as shown in the screenshot
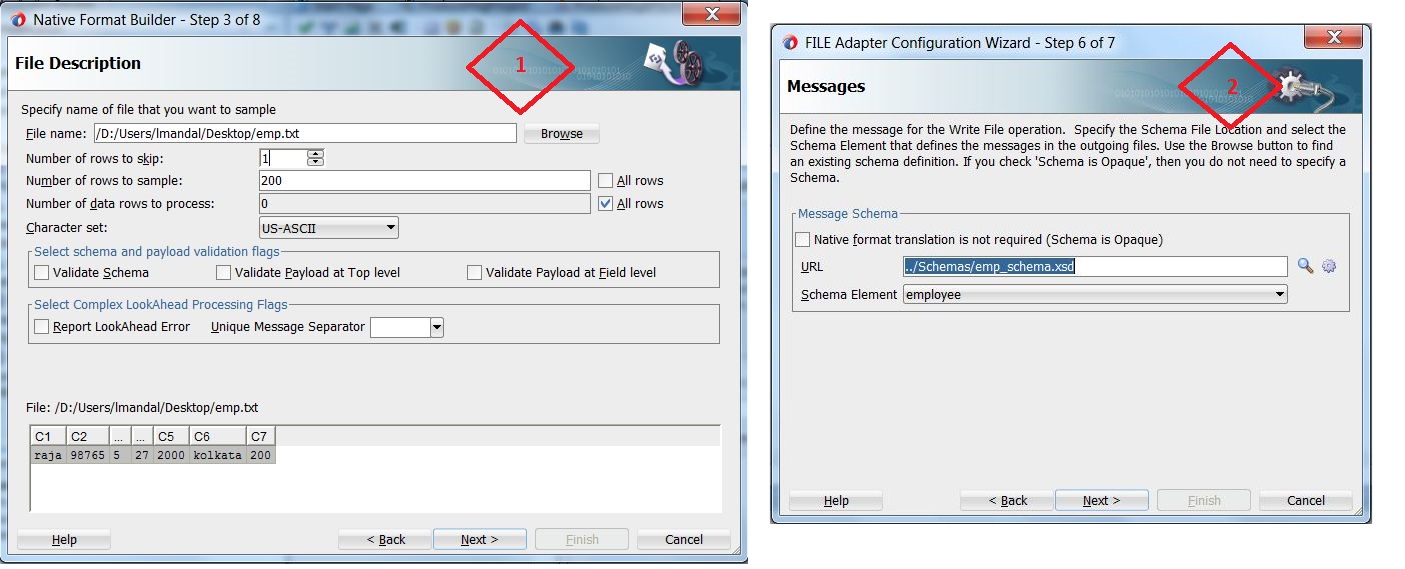
- Click on Next button and create schema for file adapter. Click on cog icon beside the URL field. You can refer my article on file adapter to configure file adapter. You have to browse one sample file for creating schema. XML schema will created according to that sample file.
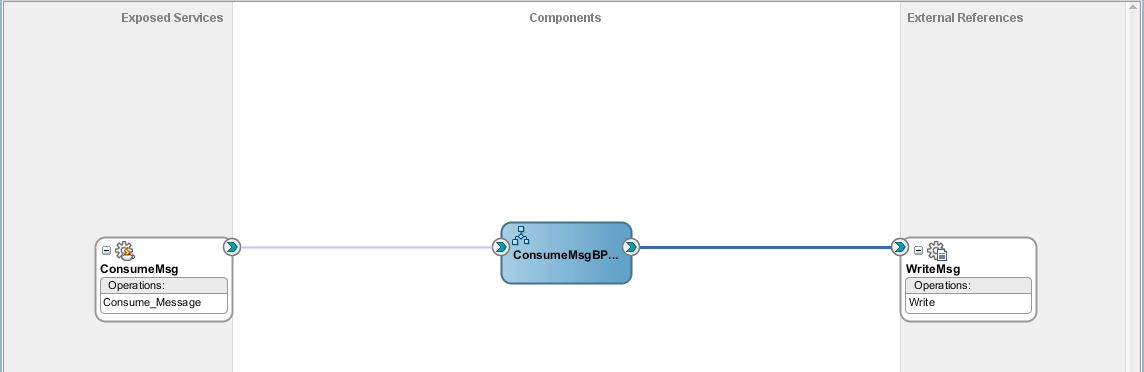
- Save the project and composite will look like below screenshot
- Double click on BPEL process and drag and drop Receive activity from component palate at the starting of the BPEL process
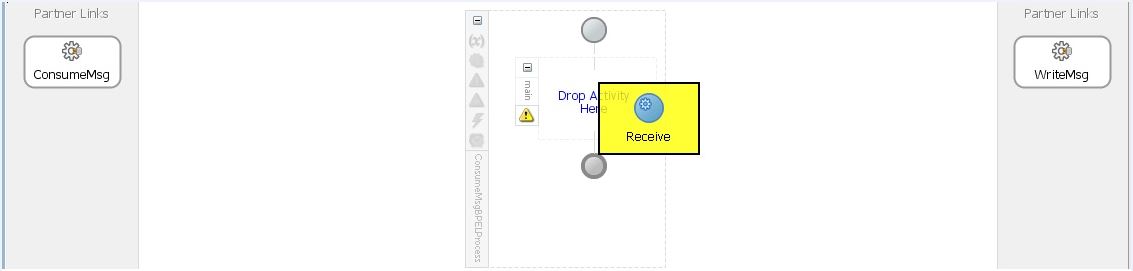
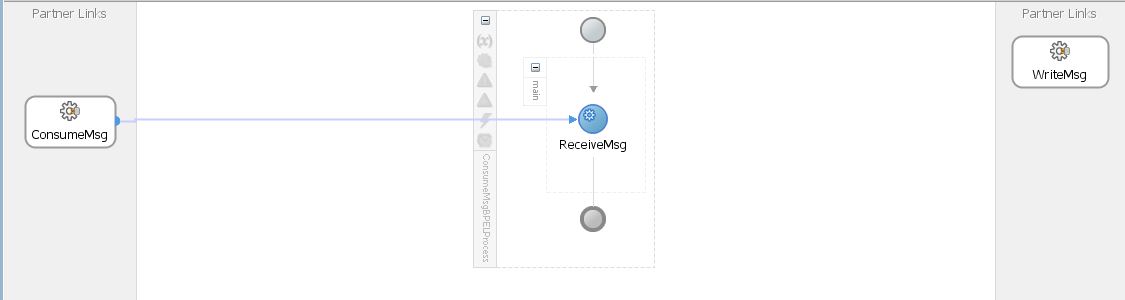
- Editor of Receive activity window will open. Enter name and select JMS adapter (ConsumeMsg) as partner link. Create a variable by clicking on green plus icon beside the Variable field.

- Click on OK button
- Drag and drop Invoke activity after receive activity
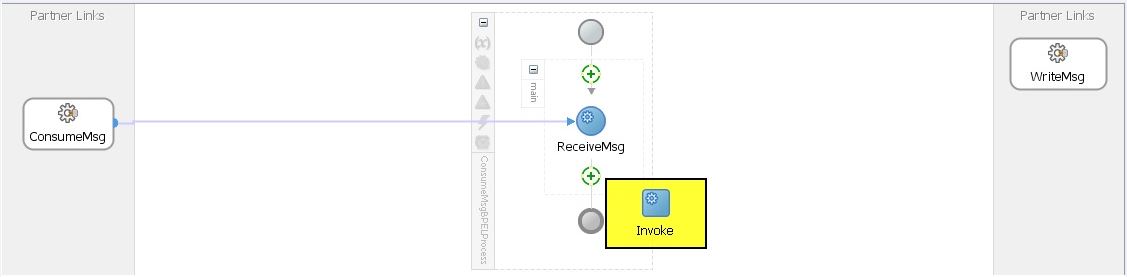
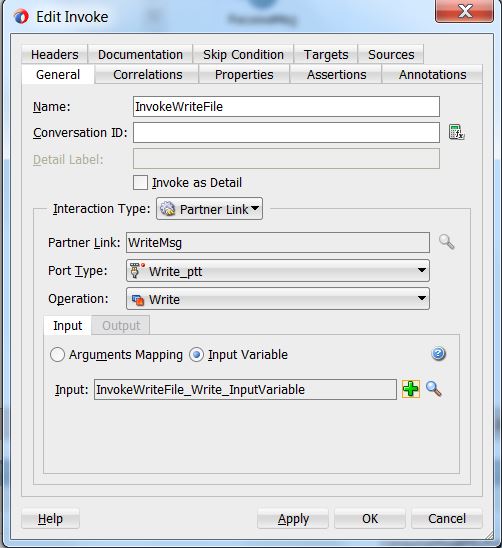
- Drags a wire from invoke activity to WriteMsg partner link. Editor of invoke activity will open
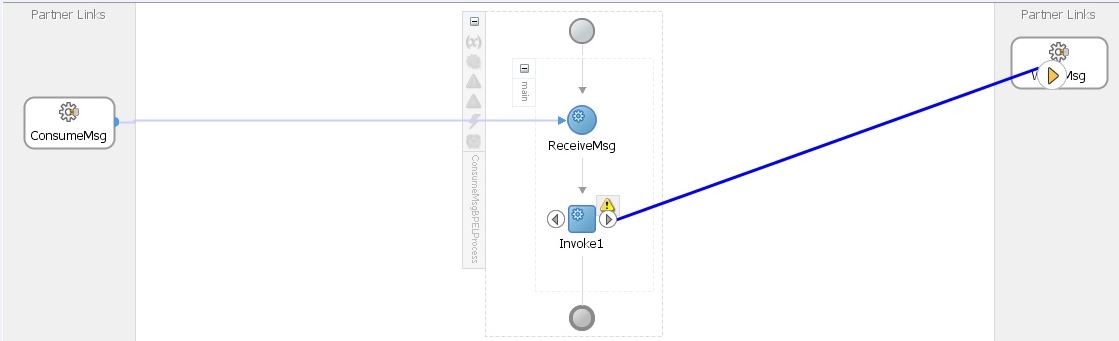
- Enter name of the invoke activity and create an input variable. Click on OK button
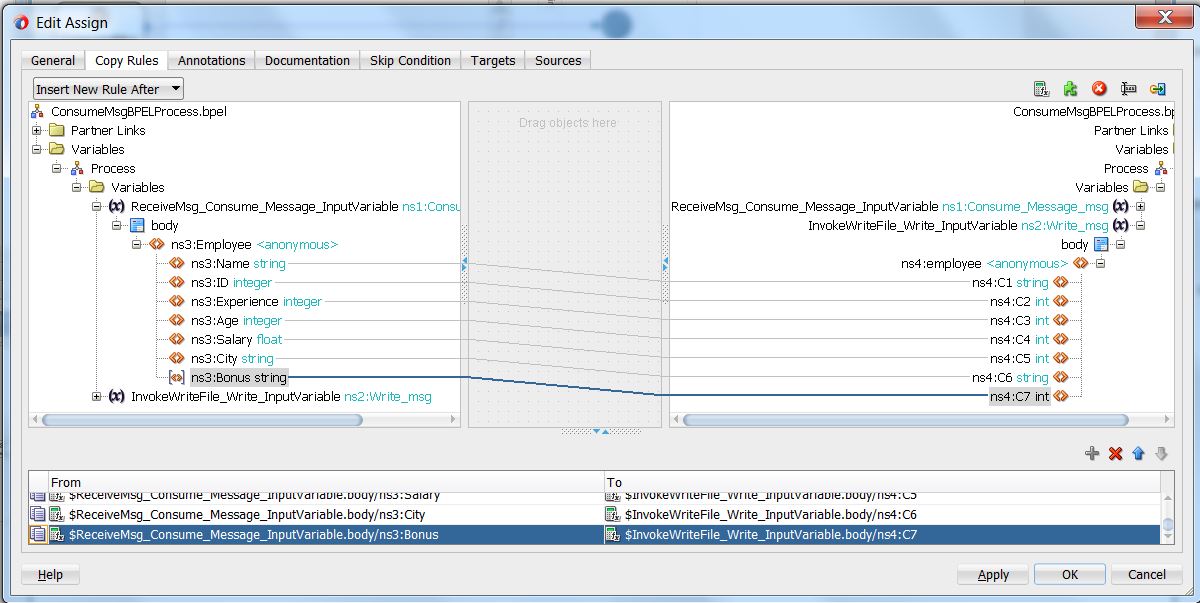
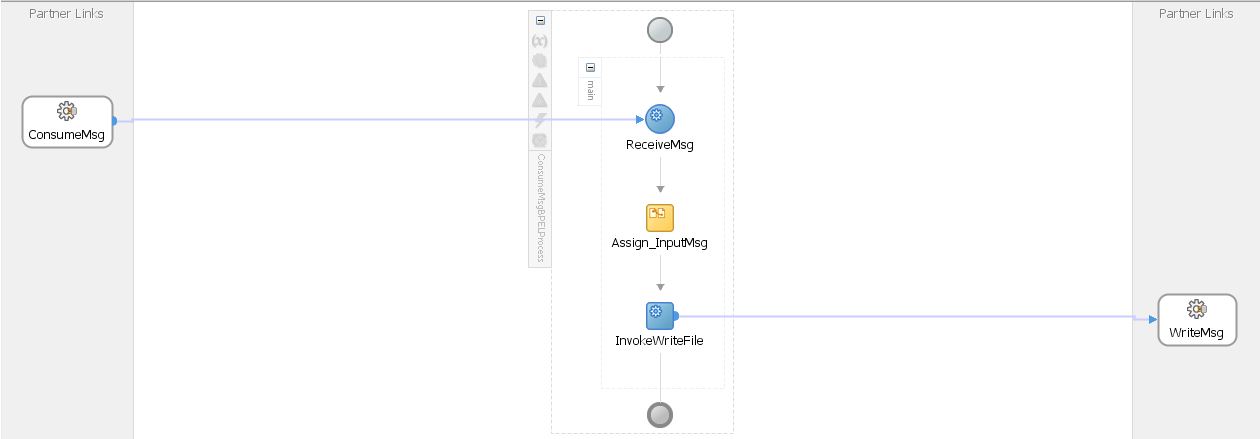
- Drag an Assign activity and drop it before the invoke activity. Double click on assign activity and do the mapping between input variables of receive activity and invoke activity
- Now BPEL process will look like this
- Deploy the project in the integrated weblogic server
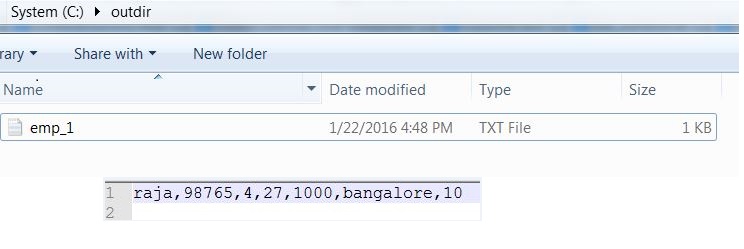
- Check the outgoing directory and a file will be created there with the employee details that is present in the queue
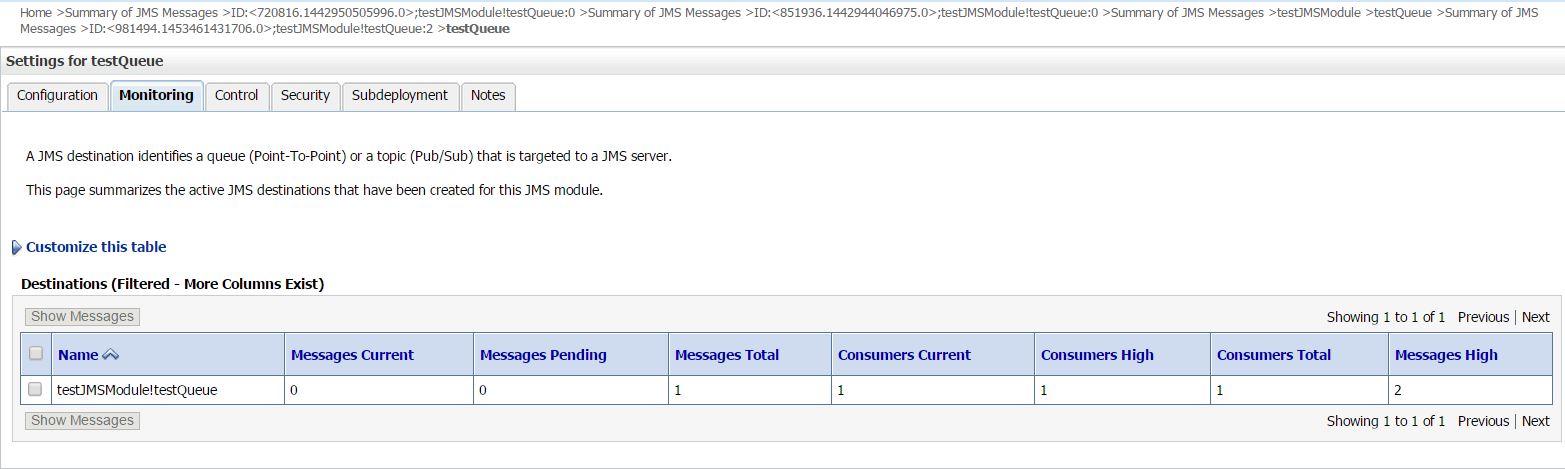
- Check the status of the queue in admin console. Navigate to Admin Console -> Services -> Messaging -> JMS Modules -> testJMSModule -> testQueue. It will give value 1 in the Consumers Total column.
These are some simple steps which will help you in consuming message from JMS queue.
 The Humanizer is a platform created by technology domain experts to inspire innovative, hence simple, thoughts for a better social living.


